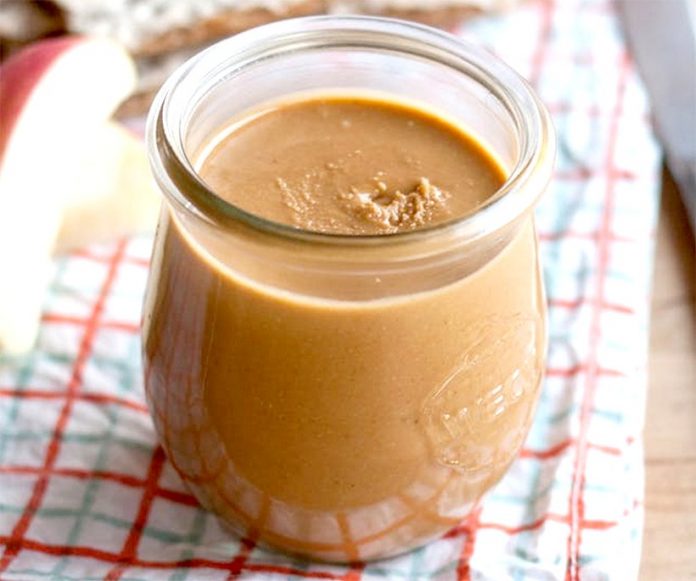
INGREDIENTS
- 2 cups (16 ounces) raw, shelled peanuts (See Recipe Notes)
- 1/2 teaspoon kosher salt, plus more to taste
- 1-2 tablespoons peanut oil or other oil (optional, for creamier peanut butter)
- 1-2 tablespoons honey or other sweetener (optional, for sweeter peanut butter)
- Optional Add-Ins: 1-2 tablespoons cocoa powder, 1/2 teaspoon cinnamon or other spice,
- handful of chocolate chips, a few spoonfuls of nutella
EQUIPMENTS
- Baking sheet
- Food processor or blender
- Spatula
- Container with lid
INSTRUCTIONS
- Roast the peanuts (optional): Heat the oven to 350°F and toast the peanuts on a baking sheet until lightly golden and glossy with oil, about 10 minutes. You can skip this step if you prefer raw nut butter or if you’re using pre-toasted nuts; roasting gives the peanut butter a deeper flavor and also helps make the oils looser and easier to blend into a smooth butter.
- Pulse the peanuts until ground: Transfer the peanuts to a food processor or blender. If you toasted your nuts, do this while the nuts are still warm. Pulse a few times just until chopped. (For chunky peanut butter, remove 1/2 cup of chopped nuts and set aside.)
- Process for 1 minute: Run the food processor or blender continuously for 1 minute. Stop and scrape down the sides and bottom of the bowl. At this point, the peanut butter will look gritty and dry, almost like couscous.
- Process for 1 minute: Run the food processor or blender continuously for another minute, then stop and scrape down the sides. At this point, the butter will start clumping together. It’s not quite peanut butter, but it’s getting there!
- Process for 1 minute: Run the food processor or blender continuously for another minute, then stop and scrape down the sides. At this point, the butter will be glossy and soft, like very thick peanut butter.
- Add the salt, oil, sweetener, and any other extras: Sprinkle the salt, oil, sweetener, and any other extras over the top of the peanut butter.
- Process for 1 to 2 additional minutes: Continue processing the butter until it becomes completely smooth. Homemade peanut butter will still be a little more gritty than Skippy peanut butter, but should be spreadable at this point. Taste and add more salt or other add-ins to taste. If you reserved some nuts for chunky peanut butter add them now and pulse a few times to incorporate.
- Transfer the peanut butter to storage container: Scrape the peanut butter into a storage container, cover, and refrigerate. The peanut butter can be used immediately and will keep for several weeks in the fridge.
Recipe Notes:
- Using Toasted Nuts: You can also use nuts that come pre-roasted from the store. I still like to give even pre-toasted nuts a quick trip through the oven to warm them up and help the oils loosen up.
- Other Kinds of Nuts: You can absolutely substitute any nut you like in this recipe. The method is exactly the same for making almond butter, pistachio butter, or any other kind of nut butter
- Making More or Less Peanut Butter: You can use this technique with any amount of nuts. I find that I typically end up with about a half-cup less peanut butter than the amount of nuts I originally started with (for instance, 2 cups of peanuts makes about 1 1/2 cups of peanut butter).
Credits to: thekitchn.com


